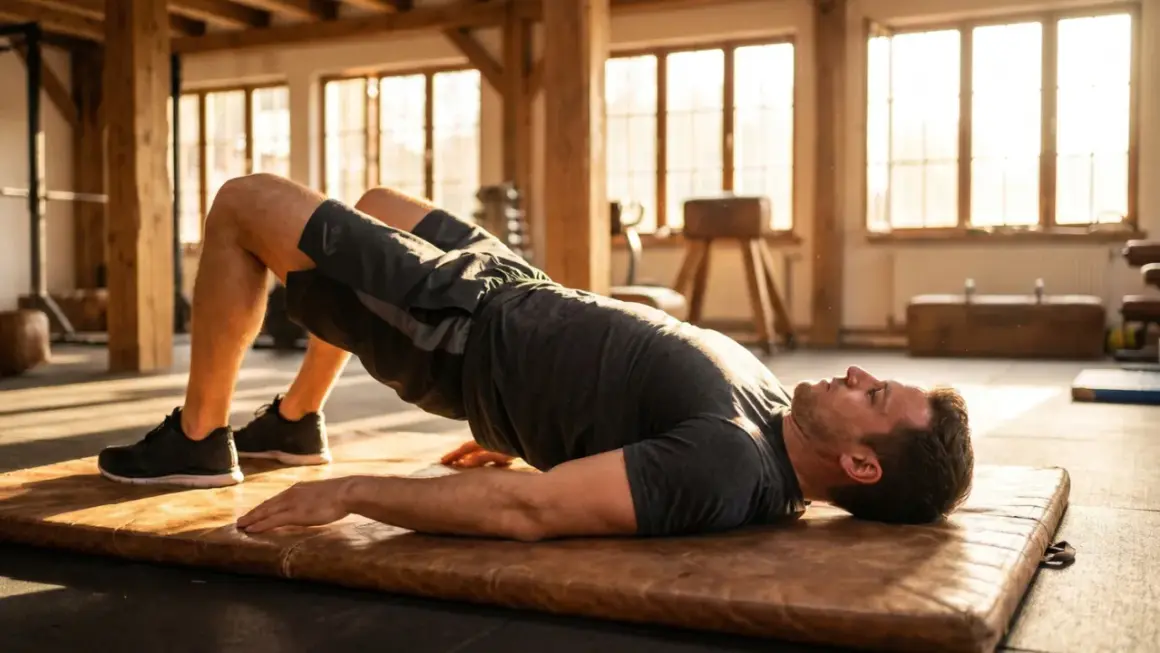
Neck bridge work can change more than muscle tone. In combat-sports conditioning, the real payoff is usually better head control, steadier posture under pressure, and a neck that tolerates load without panicking. When people look up neck bridges before after, they usually want to know whether the exercise is worth the risk, what a real transformation looks like, and how to train it without irritating the cervical spine.
What matters most at a glance
- Real progress is mostly positional and functional. A better after shot usually means less head drift, less shaking, and cleaner control, not a dramatic overnight transformation.
- Strength and size are not the same thing. The neck can get more durable before it looks noticeably thicker.
- Progress slowly. Start with short, supported holds and only add range or movement when the bridge is stable and pain-free.
- Do not ignore warning signs. Sharp joint pain, dizziness, numbness, or radiating symptoms mean the variation is too aggressive.
- Isometrics are a smart fallback. For many athletes, they deliver much of the conditioning benefit with less cervical stress.
What changes a neck bridge can realistically create
The biggest mistake I see is expecting one exercise to do one job. A neck bridge can build isometric endurance, improve bracing, and strengthen the neck and upper back as a unit, but it does not magically fix posture or turn a weak neck into a thick one overnight. In the first few weeks, the most reliable change is usually better control, not a huge visual transformation.| Area | Before | After |
|---|---|---|
| Head position | Chin drifts forward, the neck braces late | Head stays stacked with less drift |
| Hold quality | Shaking and breath-holding show up early | Calmer breathing and longer control |
| Visible shape | Neck looks flat or guarded | Neck can look fuller, but usually subtly so |
| Training response | One or two reps feel hard | Multiple clean holds or small rocks are possible |
The back bridge and the front bridge do not create the same adaptation. The back version places more demand on the posterior neck and upper back, while the front version asks more of the anterior neck and deep control. That is why I never compare two athletes, or even two photos of the same athlete, without knowing which variation they actually used. That detail changes the story completely, which leads straight into how to judge the visuals properly.
How to read before and after photos without fooling yourself
Good before-and-after photos are less about drama and more about honesty. I want the same camera angle, the same distance, the same hold time, and the same level of support. If one photo is taken after a brutal set and the other is taken fresh, or if the head position changes just because the person arched harder, the comparison becomes cosmetic instead of useful.
| Compare the same thing | Why it matters |
|---|---|
| Camera angle and distance | Perspective can fake thickness or hide bad alignment |
| Same hold time | Ten seconds of work is not the same as thirty |
| Same support level | Hand assistance changes everything |
| Same day feel | Fresh, rested necks look different from fatigued ones |
When I look at a real transformation, I look for less visible strain, cleaner head stacking, and a calmer finish to the set. A fake transformation usually looks more extreme but also more forced, with a sharp arch, clenched jaw, and no real improvement in how the athlete moves afterward. That is why photos matter, but only if you know what the image is actually proving. Once you know that, the next question is how to get there safely.
How to progress without irritating the cervical spine
I prefer a progression that earns range instead of forcing it. For most athletes, I would rather see a clean supported bridge first, then shorter unsupported holds, then gradual movement, than a rushed jump into a full neck bridge with sloppy mechanics. A simple rule works well here: if breathing becomes chaotic or the neck folds into one painful spot, the set is too hard.
| Stage | What it looks like | Typical prescription |
|---|---|---|
| Assisted setup | Hands lightly support part of the body | 3 to 5 holds of 5 to 10 seconds |
| Partial load | Less hand support, cleaner line | 3 to 4 holds of 8 to 15 seconds |
| Full static hold | Body supported mainly by head and feet | 3 to 4 holds of 10 to 30 seconds |
| Controlled movement | Small rocks or shifts under control | 2 to 3 sets of 3 to 5 reps |
- Train it 2 to 3 times per week, not every day.
- Leave at least 48 hours between hard neck sessions.
- Use 1 to 2 light warm-up rounds of chin tucks, scapular retractions, and thoracic extension before the bridge.
- Stop the set if you lose smooth breathing, feel a pinch at the base of the skull, or start compensating through the lower back.
Most athletes feel the conditioning benefit within 4 to 8 weeks, but visible thickness usually takes longer and depends on bodyweight, nutrition, and total training volume. The goal is not the deepest bridge possible, it is a neck that stays organized when the position gets ugly. That matters even more when the exercise starts to cross into the territory where risk can outrun reward.
When the bridge is too aggressive for your neck
Neck bridges are not the right choice for everyone, and I would rather say that clearly than dress the exercise up as a universal solution. If an athlete has a history of disc issues, recent whiplash, concussion symptoms, headaches that flare with loading, dizziness, tingling, or pain that radiates into the arm or hand, I would not push a bridge variation just because it looks hard. The cervical spine is small, mobile, and very good at telling you when loading has gone past the useful point.
- Sharp or pinching pain at the base of the skull or on one side of the neck
- Numbness, tingling, or symptoms that travel into the arm or hand
- Dizziness, nausea, or headache after the set
- A need to crank into end range just to get into position
- Any recent injury that has not fully settled
I stay cautious here because stronger necks matter, but stronger necks are not a magic shield. Current evidence still treats the injury-prevention side of the story with some caution, so I would never sell bridges as concussion insurance. They are a tool, not a guarantee. If the bridge fails those tests, there are better ways to build the same quality without forcing the joint positions so far.
What I use instead when the goal is safer conditioning
When the bridge feels too aggressive, I usually move to neck work that keeps the same conditioning intent but lowers the joint cost. Recent clinical work on isometric neck training suggests it can improve pain and function, which is one reason I treat isometrics as real training rather than a consolation prize. In practice, they are easier to control, easier to measure, and often a better first step for fighters, grapplers, and lifters coming back from neck irritation.
| Alternative | Why I like it | Best for |
|---|---|---|
| 4-way isometrics | Low joint stress and easy progression | Beginners, rehab phases, and cautious athletes |
| Band or harness work | Simple to load and easy to track | Athletes who want measurable progression |
| Deep cervical flexor nods | Builds front-of-neck control without drama | Posture work and control after pain |
| Farmer carries and upper-back work | Supports the whole head-neck-trunk chain | Grapplers and MMA athletes who need total-body bracing |
If I want the neck to get stronger without turning every session into a test of tolerance, I start here. The athlete still gets a real conditioning stimulus, but the risk of forcing the cervical spine into an ugly position drops a lot. That is a better deal for most people, especially if the real goal is durable performance rather than a dramatic photo.
The after photo that actually matters in combat sports
The best after shot is usually less dramatic than people expect. It is the athlete who looks calmer at the end of the set, keeps the head stacked more naturally over the torso, and recovers faster the next day. It may show a slightly thicker neck, but the bigger win is usually cleaner control under load, not a huge visual jump.
- Less visible shaking during the hold
- Better head position in stance and in the clinch
- Less neck guarding and less upper-trap tension
- Cleaner recovery after training
- Only modest size gain unless food and total training support it
If I had to judge a neck bridge block, I would care more about repeatable control and next-day recovery than about how extreme the arch looks. That is the real after image, an athlete who can stay composed when the pressure gets ugly.