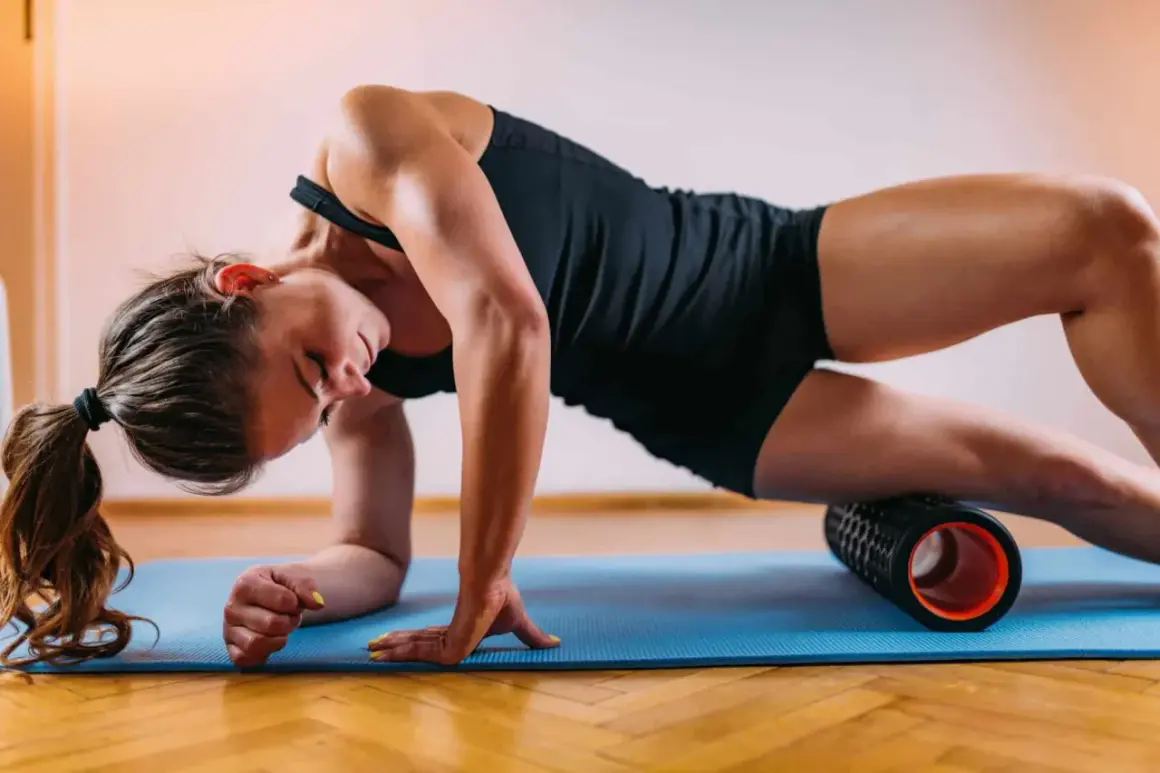
What matters most before you start rolling
- Best use: warm-up, cooldown, or recovery work that improves how you move right away.
- Time target: 8 to 15 minutes is enough for most people; beginners can start with 5 to 8.
- Order: start with the biggest, tightest muscle groups, then add smaller problem areas if you still have time.
- Pressure: slow and controlled works better than aggressive grinding, and it should not leave you bruised.
- Expectation: the payoff is usually short-term, so use it alongside mobility and strength work, not instead of them.
What foam rolling actually does for conditioning
I treat foam rolling as a reset tool, not a magic fix. The best-supported benefits are fairly clear: short-term relief from soreness, a temporary boost in range of motion, and a better sense of readiness before you train. Harvard Health notes the same pattern in plain language, especially when rolling is used as part of a warm-up rather than as a stand-alone recovery trick.
For athletes, that matters because conditioning is not only about how hard you can push. It is also about how fast you can get back to quality movement after hard intervals, sparring, lifting, or repeated footwork. If your calves, hips, or upper back are stiff, you usually pay for it in mechanics. Stride length shortens, squat depth gets awkward, and rotation becomes harder than it should be.
The catch is that the effect is usually temporary. That is not a flaw, it is the point. I use rolling to open up a window for better movement, then I take advantage of that window with dynamic drills, lifting, or sport-specific work. That is also why the next question matters: when should you roll, and when should you skip it?
When to use it before training and when to save it for after
For fighters and functional athletes, timing changes the value of the session. A short pre-workout roll can help you feel looser and more switched on. A post-workout session is more about downshifting, reducing tightness, and making the next day less miserable. The same roller can do both jobs, but the emphasis is different.
| When you use it | Best goal | Best format | What I would avoid |
|---|---|---|---|
| Before training | Wake up stiff areas and improve movement quality | 5 to 8 minutes, light to moderate pressure, mostly large muscle groups | Long, painful sessions that leave you flat or irritated |
| After training | Lower perceived soreness and calm down after hard work | 8 to 15 minutes, slower pace, a little more time on the tight spots | Grinding directly on joints or trying to force a dramatic release |
| Recovery day | Keep tissue quality and mobility from drifting down | 10 to 20 minutes, relaxed breathing, optional follow-up stretching | Using it as a substitute for sleep, hydration, or actual recovery |
My rule is simple: if I need to perform, I keep the session short and clean. If I am recovering, I can spend a little longer on the trouble spots. Once that timing is clear, the actual sequence becomes straightforward.
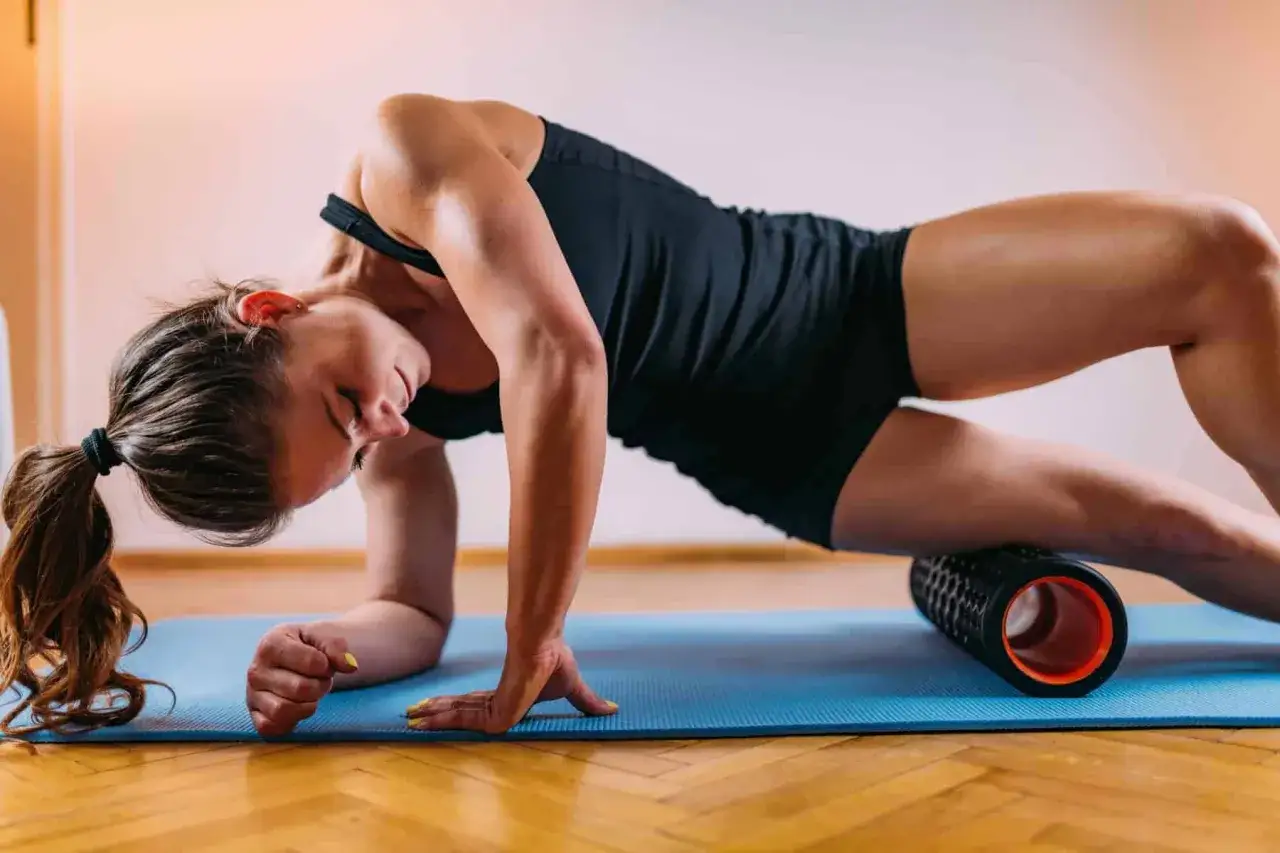
A full-body sequence I would use first
If I had to build one reliable sequence for the average athlete, I would keep it focused on the areas that take the most abuse from training and desk life: calves, hamstrings, quads, glutes, upper back, lats, and chest. I would not chase every inch of the body. I would work the muscle groups that change how you move the most.
| Order | Area | Why it matters | Time cue |
|---|---|---|---|
| 1 | Calves | Useful for running, stance work, jumping, and ankle mobility | 30 to 60 seconds per side, then 1 or 2 slower passes on the tightest spot |
| 2 | Hamstrings | Helps with hinging, sprinting, and a cleaner posterior-chain pattern | About 60 to 90 seconds total |
| 3 | Quads and hip flexors | Important for squats, kicks, footwork, and people who sit a lot | 60 to 90 seconds total, with a little extra attention near the top of the thigh |
| 4 | Glutes and deep hip rotators | Helps hip rotation, change of direction, and lower-back comfort | 60 to 90 seconds total |
| 5 | Thoracic spine | Useful for posture, punching rotation, overhead work, and breathing | 30 to 60 seconds, moving slowly between the shoulder blades |
| 6 | Lats | Helps with overhead positions, pulling strength, and shoulder motion | 30 to 60 seconds per side |
| 7 | Chest and front shoulder | Useful if you live in a guard, a keyboard posture, or a lot of pressing volume | 30 to 45 seconds per side |
I do not spend much time on the IT band itself. I work the muscles around it instead, especially the glutes, TFL, quads, and hips. That gives you a better result and usually hurts less. If you want one practical benchmark, aim for roughly 90 seconds of total work per larger muscle group, built from slow passes instead of frantic rolling.
If you only have 10 minutes, this order gives you enough coverage without turning the session into a second workout. The next step is making sure the pressure and roller choice match your current level.
How hard to push and which roller to pick
I start most people on a smooth, moderately soft roller. It is easier to control, less aggressive on tender tissue, and better when you are still learning where to put your body weight. A firmer or textured roller can be useful later, but more texture is not automatically better. If the pressure makes you brace, hold your breath, or dread the next pass, it is too much.
| Roller type | Best for | Main tradeoff |
|---|---|---|
| Smooth, soft roller | Beginners, warm-ups, sensitive muscles, high-frequency use | Less intense, so you may need a little more time on stubborn spots |
| Smooth, firm roller | Regular users, larger muscle groups, people who like deeper pressure | Can feel harsh if you go too hard too soon |
| Textured roller | Experienced users who want more localized pressure | Easy to overdo, especially on calves, glutes, and upper back |
| Ball or small roller | Small, stubborn areas like the chest, glute medius, or between the shoulder blades | Less forgiving and easier to place on the wrong spot |
Pressure should feel like work, not punishment. I usually tell people to back off the moment they lose control of their breathing or start chasing pain just to feel something happen. A useful session is steady, tolerable, and repeatable. That brings us to the mistakes that quietly ruin most routines.
Mistakes that turn a useful drill into a waste of time
The biggest mistake is moving too fast. Foam rolling is not a race, and it does not work better because you sweep across the muscle in record time. Slow pressure gives the tissue time to respond, and it also gives you time to notice where the restriction actually is.
- Rolling over bones and joints: knees, ankles, hips, elbows, and the shoulder blades are not the target. Soft tissue is.
- Grinding with max force: more pain does not equal more benefit. It usually just makes you tense up.
- Chasing the IT band as if it were a muscle: it is better to address the muscles around it.
- Using the roller without follow-up movement: rolling opens the window, but you still need to train, stretch, walk, or lift through that new range.
- Ignoring sharp pain: soreness is one thing, stabbing pain is another. Cleveland Clinic advises avoiding joints and being cautious with broken bones, torn muscles, or any spot that feels wrong.
Another mistake is expecting foam rolling to fix a recurring problem that really comes from overload, weakness, or poor recovery. If your hips feel locked up every week, you may need better programming, not just more pressure. That is why I keep the next section anchored in training context.
Where this fits in a fighter’s or lifter’s week
For combat sports and functional fitness, I like to place foam rolling where it supports output instead of competing with it. Before pad work, wrestling drills, or a lower-body lift, I keep it brief and targeted. After hard conditioning, I let it run a little longer so the body can settle down.
- Before sparring or pads: 5 to 8 minutes on calves, hips, thoracic spine, and lats.
- After leg day: 8 to 12 minutes on quads, hamstrings, glutes, adductors, and calves.
- After hard intervals: use the areas that feel compressed, then walk for a few minutes to keep blood moving.
- On rest days: a lighter 10 to 15 minute session works well if you sit a lot or feel generally beat up.
What I would not do is use rolling as a substitute for strength work when the real issue is chronic tightness from a weak or underloaded pattern. If the same spot feels “tight” every session, that is often a signal to reassess training load, position, or strength balance. Rolling can help, but it should not be the only answer.
The simplest version I would keep in rotation
If I wanted one version that was practical, repeatable, and easy to remember, I would keep it brutally simple: calves, hamstrings, quads, glutes, thoracic spine, lats, and chest. Spend about 60 to 90 seconds on each of the big areas, use less pressure than you think you need, and finish by moving through the ranges you just opened up.That is the version I would use after hard conditioning, between training blocks, or before a session when the body feels heavy and flat. It is not flashy, but it is effective because it respects the real job of recovery work: make movement easier, not more complicated.
If you want one rule to keep, use the roller to prepare the body, not to punish it. That mindset turns a full body foam rolling routine into something you can actually stick with, which is where the real payoff starts.