
A neck harness changes more than a photo angle. A neck harness before and after comparison is usually less dramatic than social media makes it look, but the real changes are still worth chasing: more thickness through the neck, better head control, and less fatigue when the neck has to brace under load. In this article I break down what visible progress looks like, how the harness affects conditioning, how to train it safely, and how to judge results without getting fooled by lighting or posture.
What a real neck-harness result usually looks like
- Visual changes are gradual and usually start with posture, neck fullness, and better head position.
- Strength often improves before size, especially if you train the neck 2 to 3 times a week.
- Photos can lie unless lighting, pose, and camera distance stay the same.
- Conditioning matters as much as appearance because the neck should hold position, not just look thicker.
- Safe progression beats heavy loading; jerky reps and pain are the fastest way to stall.
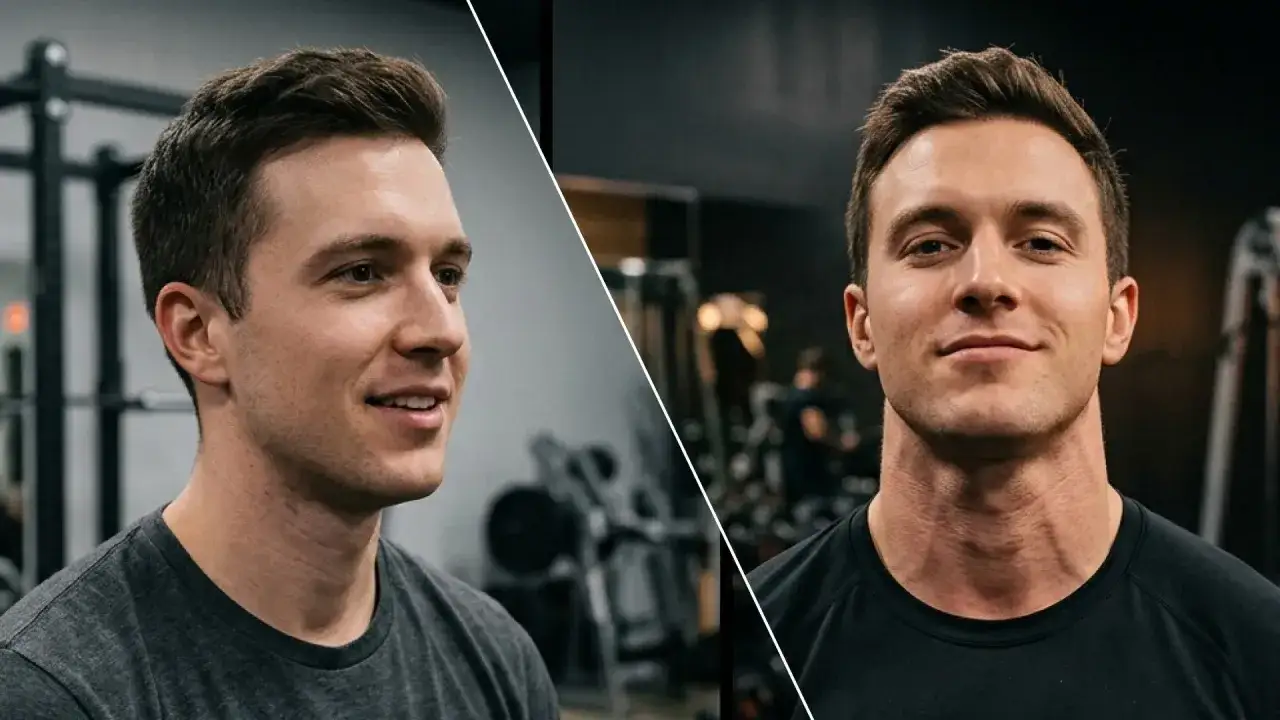
How a real transformation looks on camera and in the mirror
I would not judge harness progress from one flattering side shot. What usually changes first is the line from the jaw down into the neck and upper traps: the neck looks a little denser, the head sits more naturally over the shoulders, and the side profile stops looking as long or soft.
For a cleaner comparison, I look at the same camera angle, the same lighting, and the same relaxed posture. The harness may help build the muscles, but the photo has to be controlled or you end up comparing posture and lighting instead of actual tissue change.
| Area | Before | After | What it usually means |
|---|---|---|---|
| Side profile | Head drifts forward, neck looks long and thin | Head stacks more cleanly over the shoulders | Better posture and stronger support muscles |
| Front view | Little separation around the jaw and sternocleidomastoid | More visible fullness through the front and sides | Small gains in circumference start to show |
| Collar fit | Loose space around the neck | Collar sits tighter without looking strained | A practical sign that size is changing |
| Training posture | Neck tires quickly under load | Head position stays steadier longer | Conditioning is improving, not just appearance |
| Photo consistency | Different light, different angles, different expectations | Repeatable setup makes the difference obvious | Honest comparison instead of guesswork |
That is why I separate appearance from performance. Both matter, but they do not change at the same speed, and the next section is where the performance side starts to matter most.
Why the neck looks different even when the scale does not
When people say the neck looks better after training, the change is not only muscle size. Hypertrophy means muscle growth, but posture, resting tension, and body fat also affect how the neck reads in a mirror or photo.
If you spend long hours at a desk or fight in a stance that pulls the head forward, direct neck work can make the head sit more naturally over the ribs and shoulders. That alone can create a clearer visual change, even before the tape measure moves much. I have seen athletes look almost unchanged at relaxed bodyweight and still appear stronger once they stop slumping through the upper spine.
On top of that, the neck can become more capable of holding its position without fatigue. That matters because a neck that resists movement well often looks firmer, even when the actual size change is modest. It is a small area, but small changes show up fast when the setup is consistent. That takes us from appearance to conditioning, which is where the harness earns its place.
What the harness actually improves for conditioning
By conditioning, I mean the neck's ability to repeatedly produce force and resist movement without giving up quality. A harness lets you load flexion, extension, and lateral flexion in a direct way, and those are the exact positions that matter when the head is getting pushed, pulled, or braced during sport.
An isometric hold is a contraction without visible movement, and it is useful because real-world contact often asks the neck to hold, not just to move. That is why I care about both strength and endurance. Strength helps the neck resist a sudden force; endurance helps it keep doing that after the first minute, the third round, or the last set.
- Better head control in clinch work, scrambles, grappling, and contact situations.
- Less late-session fatigue when the upper body is already tired.
- Improved tolerance to repeated loading during football, wrestling, MMA, and similar sports.
- Cleaner posture under stress, which helps the neck look and function better.
I treat the harness as a performance tool first and an aesthetic tool second. The evidence is stronger for improved neck strength and control than for any guaranteed injury-proofing claim, so the smart play is to aim for better capacity rather than magical protection. Next, it helps to know who usually sees that capacity show up the fastest.
Who notices the biggest difference first
The biggest winners are usually the people starting from the lowest baseline. If the neck has never been trained directly, even a modest amount of work can change how it looks and feels faster than expected.
- New direct-neck trainees often feel the earliest difference because the muscles have not been asked to work this way before.
- Lean athletes see visual changes sooner because a small gain in thickness shows up clearly under a shirt or in profile.
- Combat-sport athletes usually notice the conditioning side first, especially in clinch positions, hand fighting, and scrambling.
- Desk-posture lifters may see a visual improvement quickly if the harness work helps reduce a forward-head look.
- Very muscular lifters sometimes see subtler photos, because the upper traps already dominate the silhouette.
If you already have a thick upper-trap area, the visual shift may be less dramatic, but the control gains are still real. That is the part people miss when they chase a dramatic before-and-after shot instead of a more useful training result. The next section is where I would keep the program practical and safe.
How to train the neck without creating irritation
I prefer a simple, measured setup. For most people, 2 neck sessions per week is enough to start, with at least 48 hours between harder sessions. That frequency is usually enough to drive progress without turning the cervical spine into an angry, overworked mess.
- Start with 2 sessions per week.
- Use 1 to 3 directions per session: flexion, extension, and lateral flexion.
- Do 2 to 4 sets of 12 to 20 controlled reps, or 10 to 20 second isometric holds.
- Leave 1 to 3 reps in reserve and avoid jerking the weight.
- Add load only when the same rep quality stays clean.
- Stop immediately if you get sharp pain, dizziness, tingling, or headache.
I also like a short warm-up before the harness work: chin tucks, gentle range of motion, or very light manual resistance. That keeps the first hard set from feeling like a surprise. In my experience, the athletes who progress best are the ones who treat the neck like any other small but important muscle group, not like a stunt.
Once the load is under control, the most common problem becomes expectation management, not exercise selection, and that is where mistakes start to matter.
The mistakes that make before-and-after photos disappointing
Most disappointing results come from bad comparison habits or rushed loading, not from the harness itself. The tool can work fine and still produce weak-looking progress if the setup is sloppy.
- Training only extension and ignoring flexion or lateral flexion.
- Loading too fast and turning every rep into a shrug-and-yank.
- Changing lighting or posture every time you take a photo.
- Confusing trap growth with neck growth; the upper trapezius can make the area look bigger without changing the neck much.
- Training through pain instead of normal muscular fatigue.
- Never measuring anything, so you end up guessing whether the work is doing anything.
The upper trapezius is the shelf-like muscle across the top of the shoulders, and it can absolutely change the look of the area, but it does not tell the full story. The neck itself needs direct work if you want a fuller silhouette and better control. That brings me to the part I care about most when I evaluate progress over time: honest measurement.
What I would count as a solid result after 8 to 12 weeks
A fair result window is usually 8 to 12 weeks of consistent work. That is long enough for the neck to adapt, but not so long that the athlete forgets what was changed and when.
| Time frame | Likely change | What it tells you |
|---|---|---|
| Weeks 1 to 3 | Less awkwardness with the harness, mild soreness, small strength jumps | The movement pattern is being learned |
| Weeks 4 to 8 | Better hold times, more stable posture, subtle fullness in consistent photos | The neck is adapting to real loading |
| Weeks 8 to 12 | Noticeable change in outline, collar fit, or sport-specific control | The work is starting to show both visually and functionally |
If the neck looks the same but your hold time is up, your soreness is down, and your position is stronger in sport, that still counts as real progress. If the photos improve and the neck feels more durable under contact or heavy lifting, that is the kind of result I would keep. For most athletes and lifters, the best outcome is not a dramatic movie-style transformation; it is a thicker, steadier neck that looks better, works better, and keeps doing its job when the session gets hard.