Building wrist strength is less about one magic exercise and more about teaching the whole forearm-hand system to tolerate load from every angle. This is a practical guide on how to get stronger wrists without wasting time on random hand drills: what actually matters, which exercises are worth using, how often to train, and when to back off. If you train combat sports, lift weights, climb, or spend long hours on your hands, this kind of conditioning carries over fast.
Key points before you train
- Train the forearm, not just the wrist. Most wrist movement is driven by the forearm muscles and tendons, so the job is bigger than simple hand squeezes.
- Use more than one movement pattern. Flexion, extension, rotation, side-to-side control, and grip all deserve a place in the plan.
- Start light and progress slowly. Tendons adapt best when the load changes gradually instead of jumping from easy to aggressive.
- Two to three short sessions a week is enough for most people. You do not need to smash wrists every day to see real progress.
- Sharp pain, numbness, swelling, or lingering soreness are warning signs. That is not normal conditioning fatigue.
Why wrist strength is really forearm strength
Cleveland Clinic’s anatomy guidance makes a point that matters here: the wrist shares muscles with the forearm. That means the joint itself is only part of the story. The muscles that bend the wrist down, lift it up, tilt it side to side, and rotate the forearm are doing most of the work.
For practical training, that matters because the wrist does not get stronger from one isolated motion. You need to cover the full movement map. Flexion is bending the palm toward the forearm. Extension is lifting the back of the hand. Radial and ulnar deviation move the hand toward the thumb side or little-finger side. Pronation and supination turn the palm down and up.
Once you think of the wrist as part of a system, the exercise choices become much clearer. That leads straight into the drills that actually build usable strength.
Exercises that actually build wrist strength
If I were building wrist conditioning from scratch, I would not start with a dozen exercises. I would choose one movement for flexion, one for extension, one for rotation, and one loaded support drill. That gives you enough variety to train the joint without turning the session into junk volume.
| Exercise | How to do it | Practical dose | Why it helps |
|---|---|---|---|
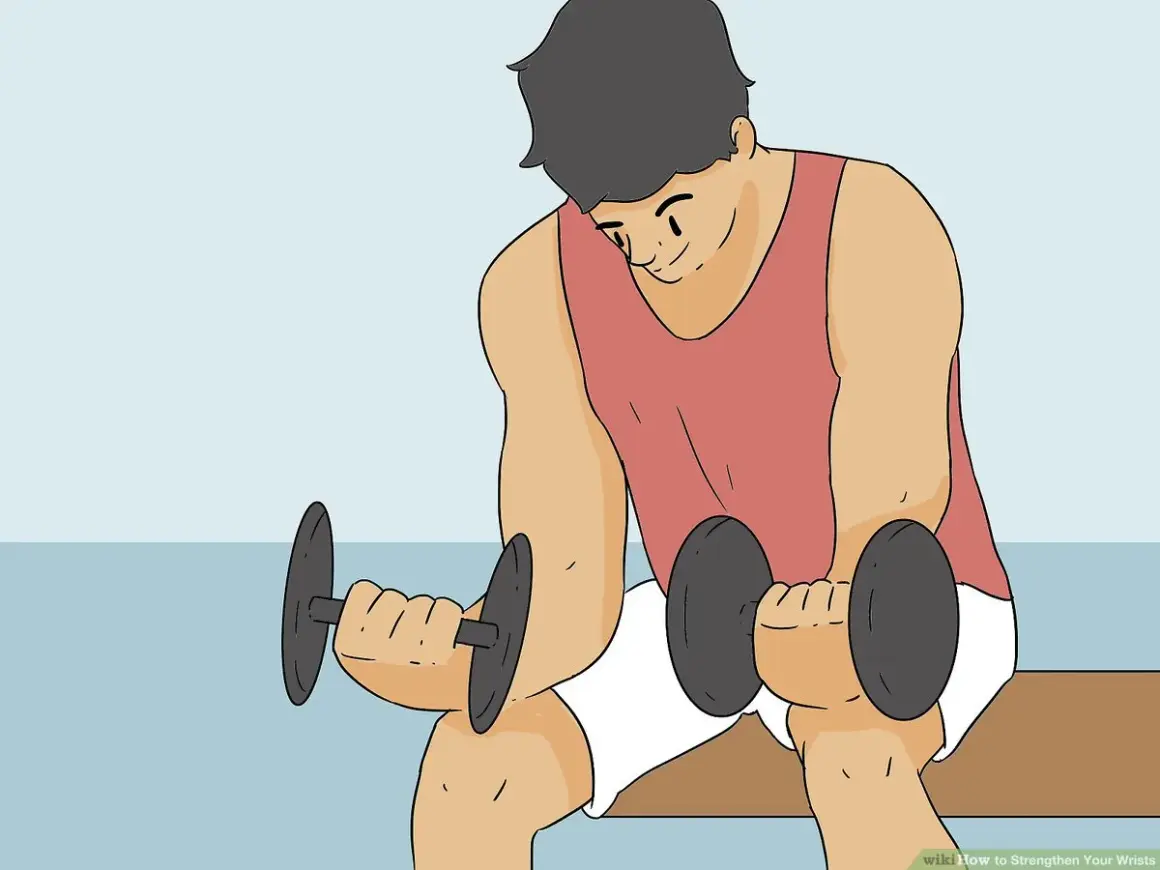
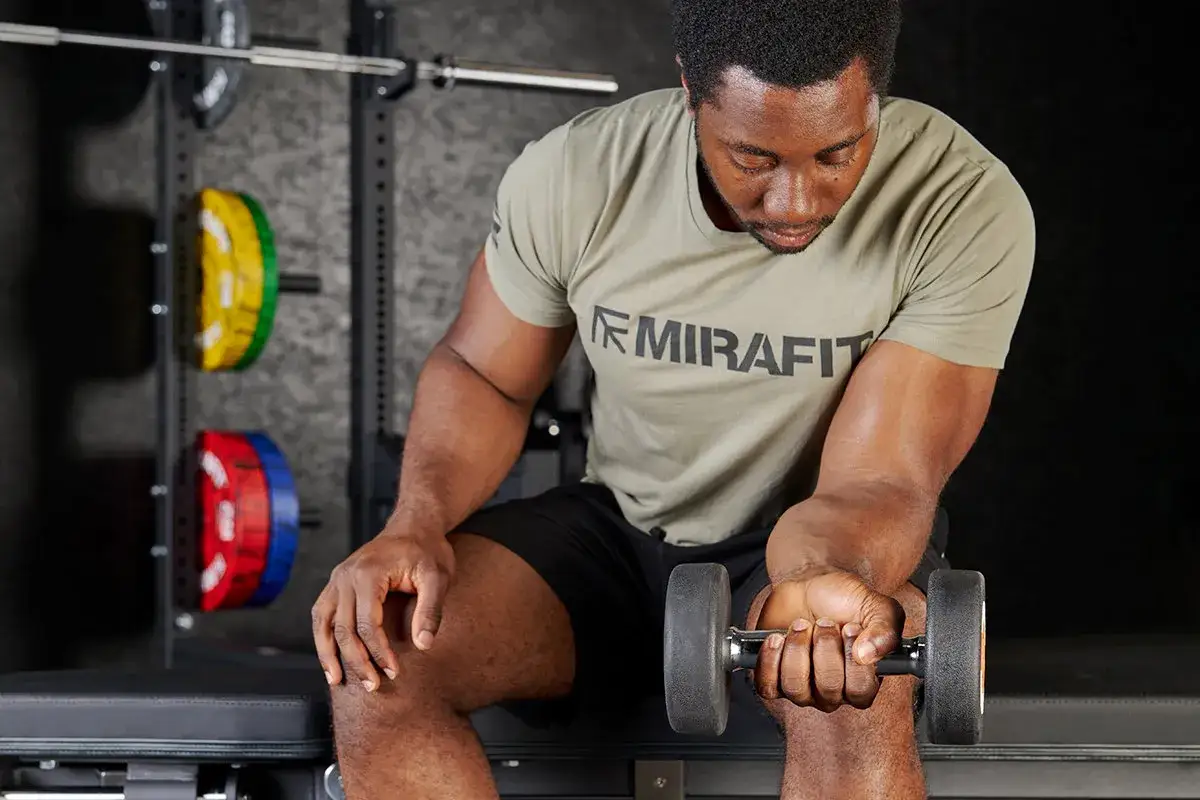
| Wrist curl | Rest your forearm on a bench or thigh, palm up, curl the hand toward you, then lower slowly. | 2 to 4 sets of 10 to 15 reps | Builds the flexors that help the wrist stay stacked under pressing, gripping, and impact. |
| Reverse wrist curl | Use the same setup, but palm down, lifting the back of the hand toward the forearm. | 2 to 4 sets of 10 to 15 reps | Trains the extensors, which are often undertrained and important for balance. |
| Hammer pronation and supination | Hold a light hammer or dumbbell vertically and rotate slowly so the palm turns down and up. | 2 to 3 sets of 8 to 12 reps each direction | Improves rotational control, which matters for striking, grappling, and racket work. |
| Radial and ulnar deviation | Hold a light weight with the thumb pointing up and tilt the hand side to side in a controlled arc. | 2 to 3 sets of 10 to 12 reps each side | Strengthens side-to-side stability that many lifters and fighters neglect. |
| Farmer’s carry or suitcase carry | Walk with a heavy but controlled load and keep the wrist neutral the whole time. | 3 to 5 carries of 20 to 40 seconds | Builds grip, wrist stiffness, and real-world support strength under fatigue. |
| Quadruped wrist rocks | On all fours, place weight through the hands and gently rock forward and back without collapsing the wrist. | 2 to 3 sets of 20 to 30 seconds | Helps the wrists tolerate closed-chain loading, which carries over to push-ups and floor work. |
| Rubber band finger extensions | Loop a band around the fingers and open the hand against resistance. | 2 to 3 sets of 15 to 25 reps | Balances heavy gripping by training the muscles that open the hand. |
My rule is simple: keep the reps smooth, keep the wrist stacked, and lower the weight more slowly than you lift it. A 2 to 3 second lowering phase is enough to make the work meaningful without turning it into a grind.
If a movement hurts at the joint itself, reduce the range and load first. Do not try to prove toughness by forcing ugly reps through a collapsing wrist. That is a fast way to turn conditioning into irritation.
Once the exercise menu is clear, the next question is how to program it so the wrists actually adapt instead of just getting tired.
How to program wrist conditioning so it sticks
For most people, 2 to 3 short sessions per week is the sweet spot. That is enough frequency to build tolerance without hammering a small joint that already gets plenty of stress from pressing, pulling, punching, and daily use.
| Training situation | Frequency | What to emphasize | Time frame |
|---|---|---|---|
| General strength and conditioning | 2 sessions per week | 1 flexion drill, 1 extension drill, 1 carry | 10 to 15 minutes after the main workout |
| Combat sports or climbing | 2 to 3 sessions per week | Rotation work, support holds, and grip endurance | Short finishers of 8 to 12 minutes |
| Returning from irritation | Every other day, very light | Range of motion, gentle loading, and low-volume support work | 5 to 10 minutes |
A simple session could look like this:
- 1 to 2 minutes of open-and-close fists, wrist circles, and gentle forearm warm-up.
- 2 sets of wrist curls for 10 to 15 reps.
- 2 sets of reverse wrist curls for 10 to 15 reps.
- 2 to 3 carries of 20 to 40 seconds.
- 1 to 2 sets of finger extensions for 15 to 25 reps.
Progression should stay boring. Add 1 to 2 reps per set until you hit the top of the range, then increase the load slightly. For carries, add 5 to 10 seconds before you add a big jump in weight. If the next-day response is mild and settles within 24 hours, the dose is probably right. If the joint feels more irritated from session to session, the load is too aggressive.
One more practical point: wrist work usually belongs after your main lifting, striking, or pulling work. If you pre-fatigue the forearm before heavy presses, rows, or technical striking, you often get less quality where it matters most.
Programming is where most people either make progress or get annoyed, and the mistakes are usually predictable.
The mistakes that slow wrist progress
- Training only grip and ignoring extension. Big squeezes are useful, but if you never train the back side of the forearm, the system stays unbalanced.
- Going too heavy too soon. The wrist is small, and tendons usually need slower loading than the muscles around them.
- Using sloppy reps. Throwing the hand through a huge range looks productive, but control is what transfers.
- Skipping rotation work. Many athletes can curl the wrist fine but lose control when the forearm turns under load.
- Confusing burn with quality. Forearm fatigue is normal. Joint pain that ramps up during the set is not the goal.
- Ignoring the rest of the chain. If your elbow position, shoulder stability, or grip mechanics are poor, the wrist ends up absorbing more stress than it should.
There is also a psychological trap here: people often test the wrist too early. They add heavy push-ups, hard bag work, or aggressive loaded extensions before the joint has earned that demand. That usually delays progress instead of speeding it up.
The cleanest approach is to earn range first, then load, then test. That keeps the wrist adaptable rather than reactive.
When wrist weakness is a medical issue
Not every sore wrist is a conditioning problem. If you have numbness, tingling, visible swelling, bruising after a fall, loss of grip strength, or pain that keeps getting worse instead of settling down, I stop thinking about training and start thinking about injury management.
The same goes for pain that hangs around for several days without improving. At that point, more loading is rarely the answer. Rest, a proper exam, or a guided rehab plan is usually the smarter move than trying to outwork a irritated joint.
This is where good judgment matters more than toughness. A wrist that is simply deconditioned usually responds to careful loading. A wrist that is injured needs a different timeline, and forcing the issue only creates a longer setback.
Once you separate training soreness from injury signs, you can focus on the long-term habits that actually make wrist conditioning reliable.
The small habits that make wrist training work long term
- Use a small menu: one flexion movement, one extension movement, one rotation drill, and one carry is enough for most people.
- Keep the volume modest for 6 to 8 weeks before judging whether the plan works.
- Balance gripping with hand opening so the forearm does not become a one-sided clamp.
- Choose loads that let you stay precise, not just tired.
- Let your wrists adapt to support, rotation, and extension, not only to squeezing hard.
If I were rebuilding wrist strength from zero, I would keep the plan simple, train it twice a week, and progress only when the movement looked clean and the joint felt better, not worse, the next day. That is the difference between durable wrist conditioning and a short burst of enthusiasm that ends in irritation.